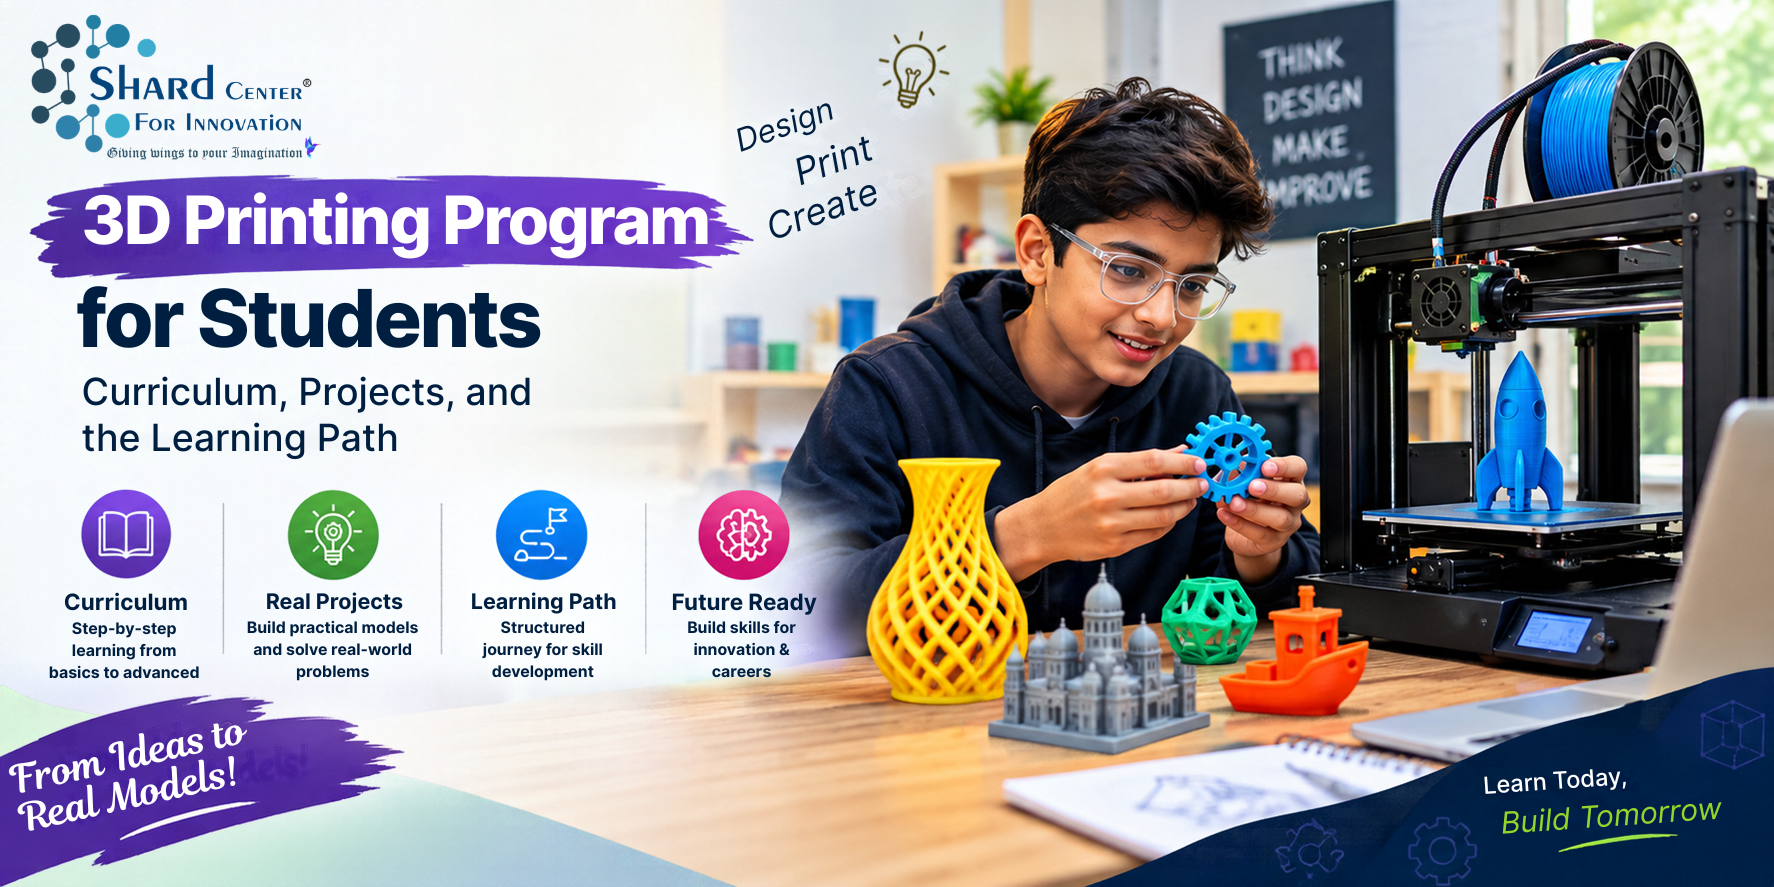
The best 3D printing program connects the complete workflow in a smooth manner – first an idea is designed, then prepared for 3D printing, inspected, and then further improved through iteration. This guide is developed for students, parents, and educators who wish to learn and teach 3D printing in depth instead of covering just superficial software names or printer settings. This explains what should be learned, how the skills matter, and how the pieces fit together.
What Should a Student 3D Printing Program Achieve?
A student 3D printing programme should aim at building independence. Initially, a learner would require a guided template and support. Near the end, they would be able to define a problem, model a solution, and prepare the prototype for printing. The ideal programme combines digital design, manufacturing knowledge, and project-orientated learning.
Module 1: Understanding Additive Manufacturing
Students should begin by understanding how additive manufacturing works by observing how layers develop a 3D object, identifying the different parts of a desktop printer, and observing where 3D printing courses are used. A demonstration can benefit students before being introduced to the software. It is important to follow the rules around safety here, as printers contain hot and moving materials.
Module 2: Beginner 3D Modelling
Students can start working with 3D modelling for beginners to learn about scale, alignment, grouping, subtraction, and basic text by working with small projects initially. A simple geometric token or a personalised tag is good to make, as it teaches many useful tools. Students can gradually progress to making sketches with exact dimensions and extrusion. Now modelling becomes more intentional as students learn to make specific designs and learn to specify dimensions.
Module 3: Design for Printability
Students should learn why some designs print easily while others do not. They can investigate orientation, overhangs, supports, wall thickness, contact with the build plate, and the effect of small features. Simple design challenges can also be introduced here, and questions such as “can a part be split into two pieces that print more reliably and assemble afterwards?” can be asked.
Module 4: Slicing and Printer Preparation
Students should be taught through this module how a slicer works and translates geometry into layers. Settings such as layer height, walls, infill, supports, orientation, and bed adhesion should be introduced first. An example is to slice an object by using two or three different choices. The estimated time, material use, and visible later structure can then be contrasted before printing anything. Students begin to understand the role of slicing as an important decision-making step.
Module 5: Printing, Observation, and Troubleshooting
While printing, the first layer immediately provides information on whether the printing has happened correctly. Students learn how good adhesion looks and when printing should be stopped to avoid a failure. Troubleshooting should be systematic—the problem should be documented, possible causes registered, one change named that would be tested, and finally the result should be noted. This promotes evidence-based problem-solving and avoids random experimentation.
Module 6: Progressive Projects
Projects should be designed in such a way that they build complexity gradually. Each project should introduce new skills while utilizing previous operations. For example, a name tag can be designed, followed by a keychain, desk accessory, phone stand, and then a fitted container. Each item is operationally more complex to design but builds upon the previous skillsets. The final project should involve at least one iteration, and students can explain the entire workflow and the iterations to develop a good portfolio artifact.
Assessment: Measure Thinking, Not Just Successful Prints
Assessment of a project should consider the design intent, modelling accuracy, printing, problem-solving, documentation, and iteration. This process makes sure that a perfect-looking print does not automatically gain the highest assessment, but rather the entire process and iterations behind a print are considered. This makes sure that the programme values student understanding and is more inclusive.
The Key Takeaway
A good 3D printing program makes sure that the student understands the entire workflow behind 3D printing and the value of iterative problem solving. Its curriculum should be progressively more demanding and connect modelling, printability, slicing, machine operation, and troubleshooting. The programme should ensure that students build transferable STEM skills and eventually become adept at 3D printing.
FAQs (Frequently Asked Questions)
Q1: Is 3D modelling for beginners suitable for complete beginners?
Ans: Yes. Beginners can start with the simplest modelling and guided projects and then move on to print preparation, troubleshooting, and more involved designs.
Q2: Do beginners need coding to learn 3D printing?
Ans: No. Coding is not required in ordinary 3D printing, which utilizes dedicated modeling and slicing software.
Q3: What should first be taught to students in 3D printing?
Ans: Basic 3D modelling and geometry should be learned, followed by design-for-print principles, slicing, printer preparation, observation, and iterative development.
Q4: How do students improve their skills in 3D printing?
Ans: Students can start by creating simple projects and then repeating the full design-print-test-improve cycle. Building with and changing one variable at a time builds more understanding than trying to build increasingly complex models.
Q5. What skills are needed to learn 3D modelling?
Ans: Basic computer skills, spatial understanding, creativity, measurement, and problem-solving are useful. Technical skills can be developed through regular practice.
Q6. Can students learn 3D modelling?
Ans: Yes. Students can learn basic 3D modelling through age-appropriate software and projects, creating objects such as educational models, prototypes, and simple functional designs.
Q7. What should beginners learn first in 3D modelling?
Ans: Beginners should start with basic shapes, dimensions, measurements, object manipulation, combining shapes, and simple design principles before moving to complex models.
Q8. How do you prepare a 3D model for printing?
Ans: The model is usually exported in a suitable file format, checked for common design problems, and processed through slicing software to generate instructions for the 3D printer.
Q9. What projects can beginners create with 3D modelling?
Ans: Beginners can create keychains, phone stands, simple toys, organisers, miniature models, prototypes, customised objects, and basic mechanical components.
Q10. Can 3D modelling help with a career in 3D printing?
Ans: Yes. 3D modelling is an important skill for areas such as 3D printing, product design, engineering, architecture, prototyping, manufacturing, and digital fabrication.
References
- Autodesk—3D Printing Design Software: https://www.autodesk.com/in/solutions/3d-printing-design-software
- Autodesk – Design Considerations for Additive Manufacturing: https://www.autodesk.com/learn/ondemand/curated/design-for-additive-manufacturing-with-fusion/5p0AhR0t0k8663u0OScBmt
- Autodesk—3D Modelling Software: https://www.autodesk.com/in/solutions/3d-modelling-software
- Autodesk - Fusion Tutorials: https://www.autodesk.com/solutions/design-manufacturing/fusion-tutorials
- Prusa—First Print with PrusaSlicer: https://help.prusa3d.com/article/first-print-with-prusaslicer-2-9_1753
- Formlabs—FDM vs. SLA vs. SLS: https://formlabs.com/blog/fdm-vs-sla-vs-sls-how-to-choose-the-right-3d-printing-technology/