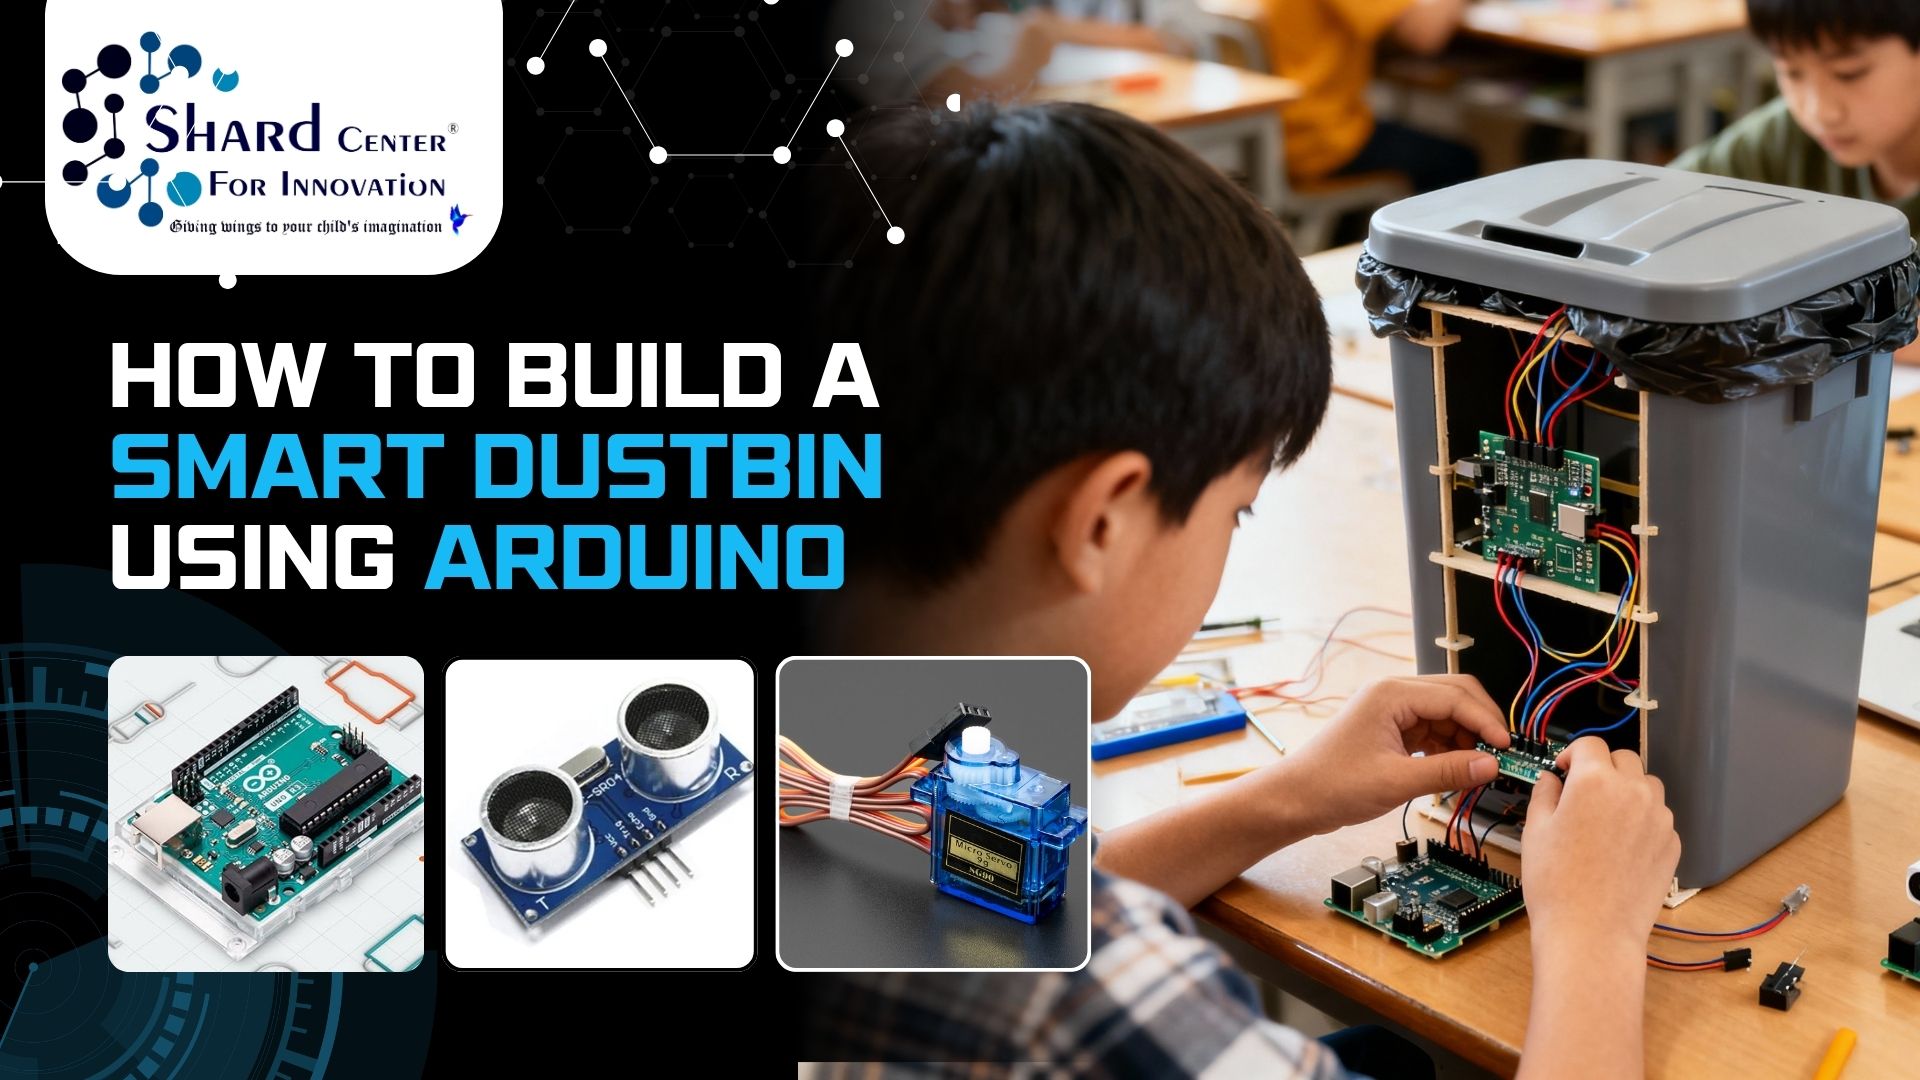
If you have ever wanted to try a simple electronics project that would be real, functional, and, most importantly, fun, then this guide is all you need. In this blog, we will follow the steps to Build a smart dustbin using Arduino.
It is an ideal Arduino STEM project for beginners to start with, and it has been the Mini School's STEM project of choice for many students. And since it is practical, it is also suitable for kids who desire to know more about sensors in the real world. If you like creative DIYs, this is one of the simplest ways to create your own DIY Smart Dustbin with basic parts.
If you like creative DIYs, this is one of the simplest ways to create your own DIY Smart Dustbin with basic parts, while getting a first-hand feel of how ideas from Artificial Intelligence and theInternet of Things can be applied in real-life projects.
Arduino Waste Management Project!
Step 1: Understanding What a Smart Dustbin Does
We should first know the purpose before getting into the wires, tools, or even the code.
A Smart Dustbin using Arduino is very simple in its concept:
The lid of the dustbin opens automatically when one carries their hand close to the dustbin. A few seconds later, it closes itself.
This makes the dustbin:
Clean and hygienic
Touch-free
Fun to use
An excellent automation model of learning.
All this can be achieved with only two key elements: an ultrasonic sensor and a servo motor.
If this is your first Arduino STEM Project to get started with, that is no problem; everything is very easy as soon as you see how the pieces fall together.
Step 2: Components You Will Need
Here’s the small checklist before we start building your DIY Smart Dustbin:
Arduino Uno board
Ultrasonic Sensor (HC-SR04)
Servo Motor (SG90 or similar)
Jumper wires
Breadboard (optional)
A small dustbin with a lid
Glue or tape to assemble the sensor.
In case you are doing it as a Mini School STEM Project, you can also create designs on the dustbin to make it more aesthetically pleasing.
Step 3: How the System Works (Explain Simply)
Imagine the ultrasonic sensor to be a small animal continuously emitting sound waves and hearing them back.
When your hand gets close:
The distance is detected by the sensor.
Arduino reads this distance
In case it is between 20 and 25 cm, the servo motor is instructed to rotate.
The lid opens
After a delay, it closes again
This mechanism is the same concept used in automatic doors, tapes, and even robots, making it a powerful Arduino Waste Management Project example.
Step 4: Wiring Smart Dustbin
Instead of complicated diagrams, a one-liner description of how it works that simpletons can understand is as follows:
Ultrasonic Sensor - Arduino
VCC - 5V
GND - GND
TRIG - Pin 9
ECHO - Pin 8
Servo Motor - Arduino
Brown/Black - GND
Red - 5V
Orange/Yellow - Pin 10
That's it. All you have to do is follow these five connections, and the hardware set is complete.
Step 5: Upload This Arduino Code (As Is)
Open Arduino IDE, paste this code, and upload:
#include
Servo lidServo;
const int trigPin = 9;
const int echoPin = 8;
const int servoPin = 10;
long duration;
int distance;
void setup() {
Serial.begin(9600);
lidServo.attach(servoPin);
lidServo.write(0);
pinMode(trigPin, OUTPUT);
pinMode(echoPin, INPUT);
}
int getDistance() {
digitalWrite(trigPin, LOW);
delayMicroseconds(2);
digitalWrite(trigPin, HIGH);
delayMicroseconds(10);
digitalWrite(trigPin, LOW);
duration = pulseIn(echoPin, HIGH);
distance = duration * 0.034 / 2;
return distance;
}
void loop() {
int d = getDistance();
if (d > 0 && d < 25) {
lidServo.write(80);
delay(2000);
lidServo.write(0);
}
delay(200);
}
You don’t need to change anything.
It should work on the first try.
Step 6: Final Assembly
Install the ultrasonic sensor on the front side of the dustbin and attach the servo motor to the lid to be able to lift it.
Once connected:
Power your Arduino
Bring your hand towards the dustbin.
The lid is supposed to open automatically.
Congratulations, your Smart Dustbin using Arduino is complete! If you are doing this as a Mini School STEM Project or showcasing it at a fair, you will find that people love touching (or not touching!) the dustbin just to see it open.
Conclusion
Building a DIY Smart Dustbin is one of the simplest yet most exciting projects for anyone stepping into electronics. It is practical, fun, and the perfect Arduino STEM Project for Beginners. Whether you are in the discovery stage of automation, designing the model of an exhibition, or attempting to design your own project based on Arduino Waste Management, this guide provides you with all you need.

Frequently Asked Questions
1. I’ve never used an Arduino before. Can I still build this?
Ans. Yes! This project is made exactly for beginners. Just follow the steps.
2. What if the dustbin lid is too heavy for the servo?
Ans. Use a lighter lid or reduce the opening angle in the code.
3. My sensor is not detecting my hand. What should I do?
Ans. Ensure the sensor is clean, facing forward, and the wires are connected properly.
4. Do I need to solder anything?
Ans. No. All connections can be done with jumper wires.
5. Can kids do this project?
Ans. Yes, with adult supervision. It’s a safe and fun way to learn robotics.